
Understanding the process of how to screen record on a Mac is essential for preserving and distributing various digital contents. This digital content includes gaming sessions, video calls, webinars, YouTube streams, or any other valuable audio and video material. Numerous Apple users begin with QuickTime Player, which is pre-installed on all Mac computers, only to discover its limitations in terms of crucial and time-saving functionalities.
Although QuickTime Player is user-friendly and simple to navigate once you have mastered the keyboard shortcuts. However, it’s not enough when compared to more advanced screen recording software, particularly in terms of editing, annotations, and capturing both your webcam and screen. Additionally, these advanced screen recording software include TechSmith’s Snagit and TechSmith’s Camtasia.
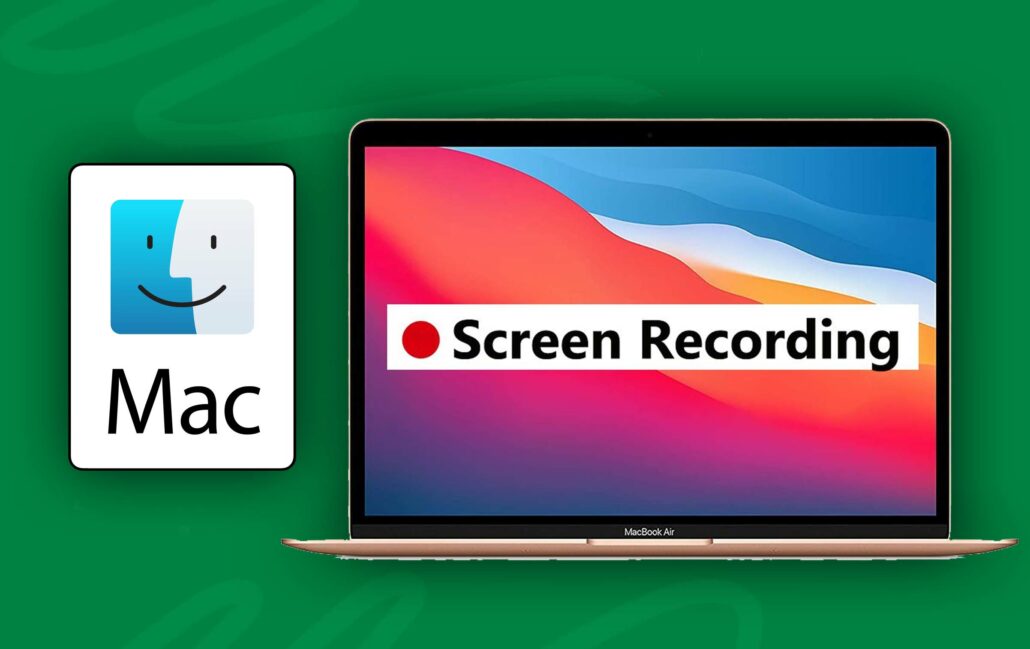
How To Screen Record On A Mac
Screen recording on Mac is an essential tool utilized by different individuals, including gamers, business professionals, educators, tech support personnel, and various others. Additionally, enhance your screen recording sessions by using specialized Mac optimization software to streamline performance and ensure smoother operations.
Anyone requiring the ability to capture and record on-screen activities should know how to screen record on a Mac. The following steps include;
- Turn on your Mac, then press Command + Shift and 5 together to open the Screenshot toolbar.
- Choose either Record Entire Screen (4th icon) or Record Selected Portion (5th icon) on the Screenshot toolbar.
- If you intend to record a section on the screen, choose Record Selected Portion (5th icon), then drag your cursor to highlight it.
- Click Record
- Afterward, click the Stop button on the menu bar or press Command + Control + Escape to end the record.
Before you start recording, you need to confirm if your Mac operates on Mojave OS or a newer macOS version. You can utilize the pre-installed Screenshot toolbar to capture your screen content. Additionally, ensure to have sufficient disk space on your Mac by checking the storage capacity.
How To Screen Record With Audio On Mac
By default, Macs use screen recordings without audio, but an option exists to include audio in your recordings. In situations like presentations or tutorials where audio is required, using QuickTime Player on your Mac to capture your screen along with audio may be the most suitable approach.
Similar to the Screenshot toolbar, QuickTime Player comes pre-installed on Macs and offers convenient usage. Here’s how to screen-record audio on a Mac;
- Launch the QuickTime Player application.
- Then click on the file and choose New Screen Recording.
- Navigate the cursor to the red Record button to choose audio
- Click the Record button to start the screen record.
Additionally, if you want to record the entire screen, click anywhere on the screen to begin recording. Moreover, if you intend to record a section of the screen, navigate your cursor to the section you want to record and click Start Recording.
Advanced software for Screen Record on a Mac
Apple does not officially allow screen record on a Mac with internal audio or the selective recording of specific applications due to copyright concerns. However, advanced software has methods to use screen records on a Mac with internal audio, for professional needs and requirements. There is some of the best-advanced software that can be used for screen record on a Mac along with sound;
OBS Studio
OBS Studio stands out as a free and open-source solution capable of recording internal audio on macOS Ventura or newer versions. Moreover, it offers the functionality to record from specific applications or windows. However, OBS Studio presents challenges such as a steep learning curve, high system requirements, and a lack of editing features.
Camtasia
Camtasia offers the ability to record internal system audio and blend recordings from specific windows, applications, and devices. While Camtasia may come with a higher price, its robust editing capabilities justify the investment.
VMaker
VMaker offers a user-friendly interface and the capability to screen record with internal audio. Additionally, it offers a Record a window feature to capture specific applications or windows, coupled with useful editing functionalities. Moreover, it operates as an accessible subscription model that provides the flexibility to record short videos for free.
RogueAmoeba’s Loopback
RogueAmoeba’s Loopback makes a virtual device, enabling the blend of audio from various sources of your choice. This includes the ability to record internal audio from diverse devices or applications such as Zoom, Safari, or your iPhone. Once configured, Loopback integrates into the Mac’s Screenshot toolbar and QuickTime Player, providing an additional audio option for recording.
While microphones are used for screen recording on a Mac with voiceover, capturing internal system audio becomes essential for preserving original audio from games, videos, or other sources. This voiceover could be explainer videos or work presentations.
Advantages and Disadvantages of Screen Record on a Mac
The approach on how to screen record on a Mac is straightforward, but it comes with its own set of limitations. Here are some advantages and disadvantages associated with using the Screenshot toolbar for screen recording on a Mac:
Advantages of Screen Record on a Mac
Fast and Easy
By using the keyboard shortcut, you can conveniently access the feature directly on any window, eliminating the need to launch additional programs.
Free
Since the Screenshot toolbar comes pre-installed on your Mac (without downloading), there’s no requirement to download any extra software on your Mac.
Customizable
You have the flexibility to adjust the frame size, select audio inputs, and display custom settings such as mouse clicks. Additionally, you can postpone the recording time and retain your preferred settings.
Disadvantages of Screen Record on a Mac
Limited Features
The screenshot toolbar functions as a fundamental tool that does not offer advanced editing capabilities, audio or visual effects, or annotation features.
Limited Export Options
The only export option available is as a .mov file format. Should you require a different file type, you’ll need to convert the export accordingly.
Manual Recording
There isn’t an option to schedule a screen recording in advance. You can only initiate and cancel the recording manually. Since the built-in tools on a Mac offer convenience, they are most suitable for basic, impromptu screen recordings.
For more professional projects requiring advanced screen recording and editing, advanced screen recorders like Snagit and Camtasia may be the best choice.
Conclusion
When considering screen record on your Mac, Apple’s pre-installed tools like the Screenshot Toolbar and QuickTime Player, offer basic insights for recording requirements. Whether you’re recording a webinar or documenting a software issue, these built-in tools are built to ease the process.