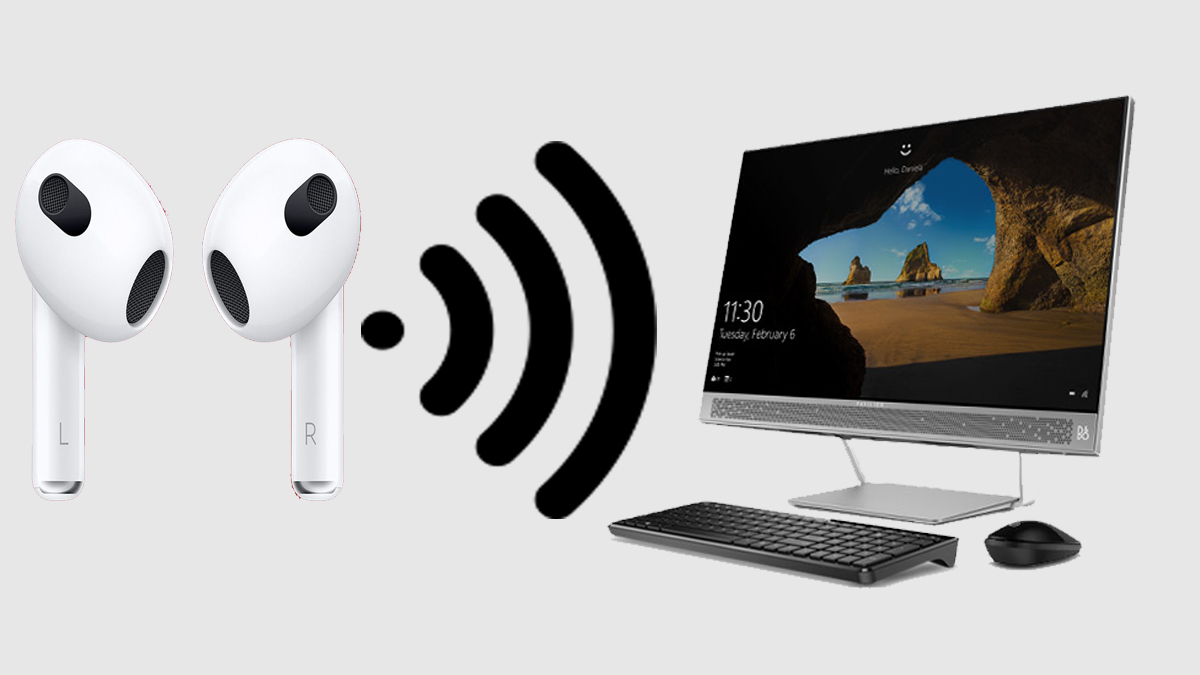
How do I connect my Airpods to my computer? Have you been wondering how to connect your Airpods to your Windows PC and you don’t exactly know how to get started? This review is therefore for you; in this review, step-by-step guidelines on how to connect your Airpods to your Windows PC will be provided.

In the meantime, AirPods have been designed to enable you to stream all your favorite songs. And they work seamlessly with iPhones and other Apple devices. Just like with any Bluetooth device, you can easily connect your Apple Airpods to your computer. Connecting your Airpods to your Windows PC will enable you to effortlessly and seamlessly stream all your favorite songs directly from your PC.
In addition, you can make video calls; attend online classes, or attend important business meetings and seminars once you’re able to connect your Airpods to your PC. Although connecting the device to your window PC can be challenging, there are easy steps to follow. Check out the next outline for step-by-step guidelines on how to connect your Airpods to your Windows PC.
How to Connect Airpods to My Computer
As previously stated, connecting your Airpods to your Windows PC can be challenging. This is because the device is designed for iPhones and Apple products. Nonetheless, it is very much possible to pair your Airpods with your PC. This can be done using your computer’s Bluetooth, but first, you will need to have charged your Airpods. Here are the steps and guidelines to follow:
- To begin, place your AirPods in their charging case and make sure the battery is at least 20% charged.
- Open the Airpods case and make sure to keep the Airpods inside until you’re done connecting.
- Now, press and hold the button on your Airpod charging case until the LED starts flashing.
- On your Windows PC, go to the Windows Start Menu at the bottom left corner of your screen.
- Click on “Settings” from the options and select “Devices” from the settings page.
- Tap on “Bluetooth and other devices” and toggle right to turn them on.
- Then, tap on the plus sign at the top of the tab and click on “Add Bluetooth or other devices.”
- On the add device page, you will find the list of Bluetooth devices within range.
- Scroll down the list and select your Apple Airpods from the list to pair with your PC.
- Once you have found your Airpods from the list, click on “Done” to complete the process.
After carefully following the above steps and guidelines, your Airpods will automatically be connected to your Windows PC. Hence, you can start streaming all your favorite songs, watching movies, attending online meetings, or making video calls directly from your PC while using your Airpods.
How to Disconnect Your Airpods From Your Windows PC
To use your Airpods on other devices, such as your iPhone, you must first disconnect them from your computer. Well, this is easy and simple to go about. Below are the steps and guidelines to follow:
- Go back to your Windows PC “Settings” by tapping on the start menu at the bottom left corner of your screen.
- On the ”Settings” page, click on Bluetooth and other devices.
- You will find your AirPods name on the right side under Audio.
- Tap on Airpods and click on “Remove device”.Tap on Airpods and click on “Remove device.” To complete the process, you will need to confirm your selection.
- Click “YES” to remove the device, and your Airpods will automatically be discounted from your Windows PC.
Hence, you can proceed to connect your Airpods to your iPhone or other Apple devices. Note that once you walk away from your computer while the Airpods are paired, they will automatically be disconnected. And you will be required to connect back before using them.
CHECK IT OUT <<< Apple Headphones – Buy Apple AirPods Headphones & Headsets
